

The first time I came across the use of willow for tunnels or forts was during an initial investigation of living fences. I had to start experimenting with willow! We have native willow in our back acreage, primarily Bebb’s willow, Salix bebbiana.
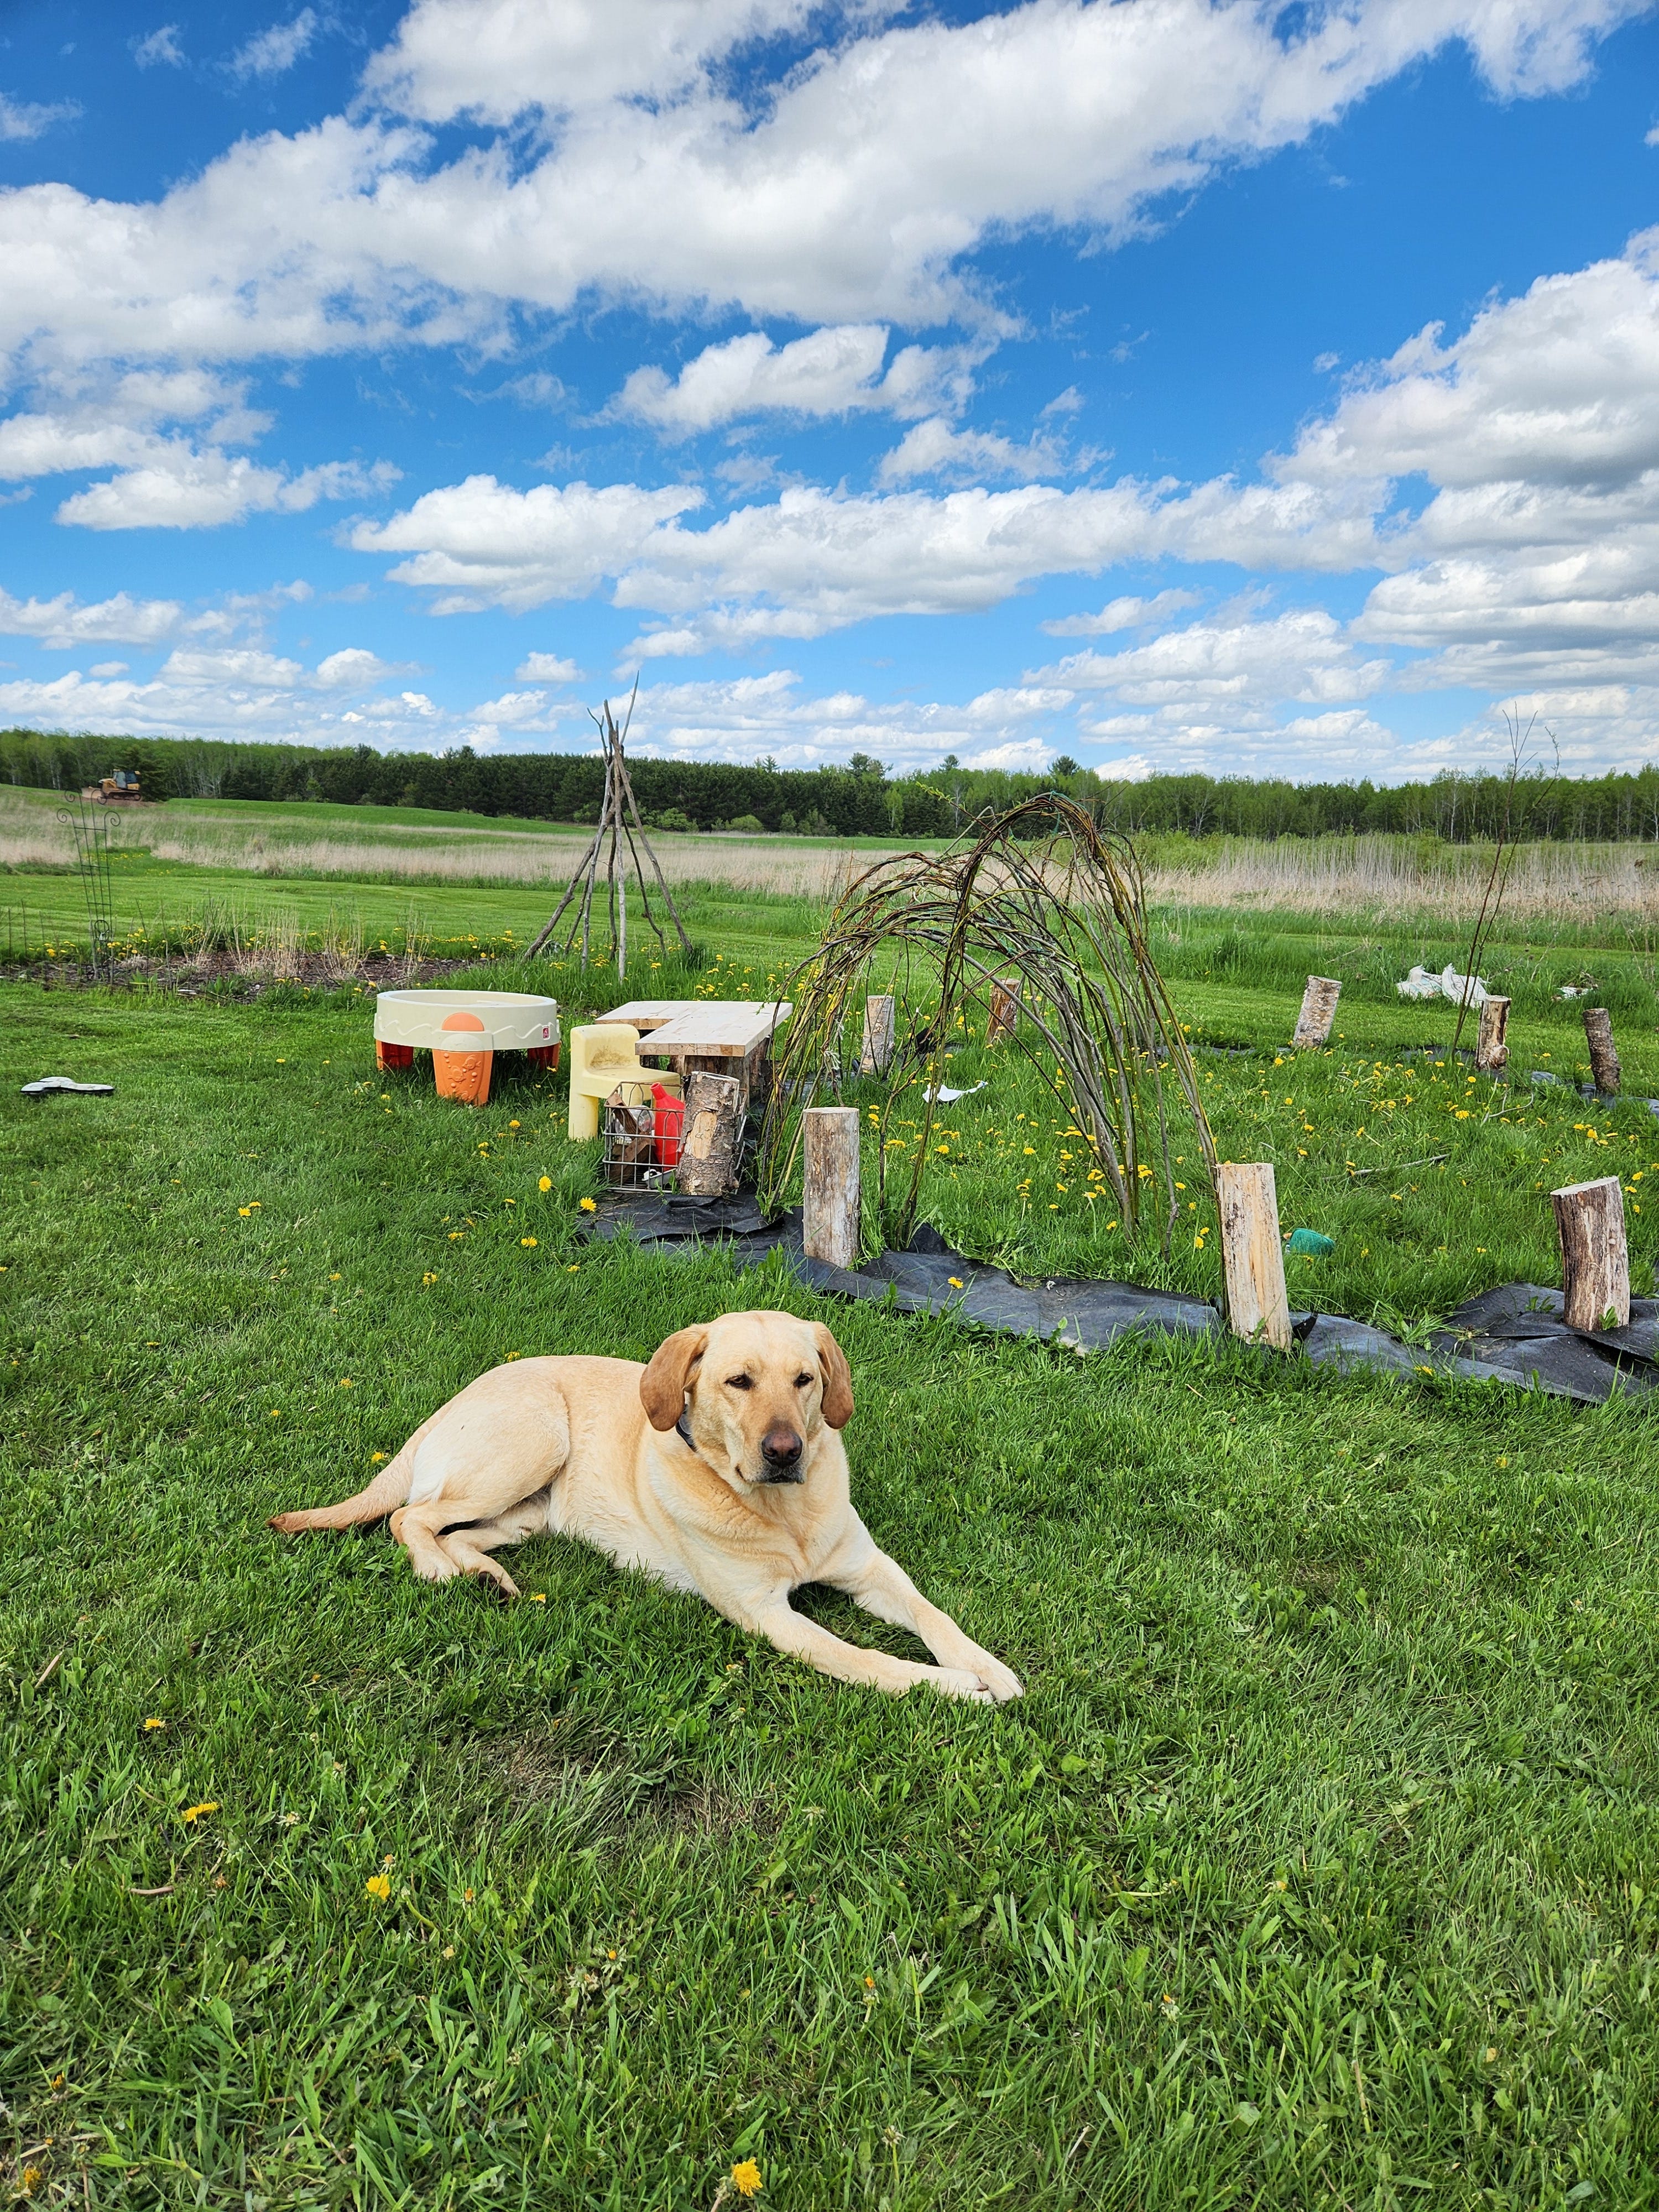
I started with an ambitious project - very typical of me - by making a large willow dome.
The dome awkwardly sat in our yard, just looking like a bunch of sticks poking out of the ground…which I suppose, is exactly what it is. While I wish I could have followed through with this ambitious project, having a little one, a full-time job, and working on my master’s proved to be simply too much.
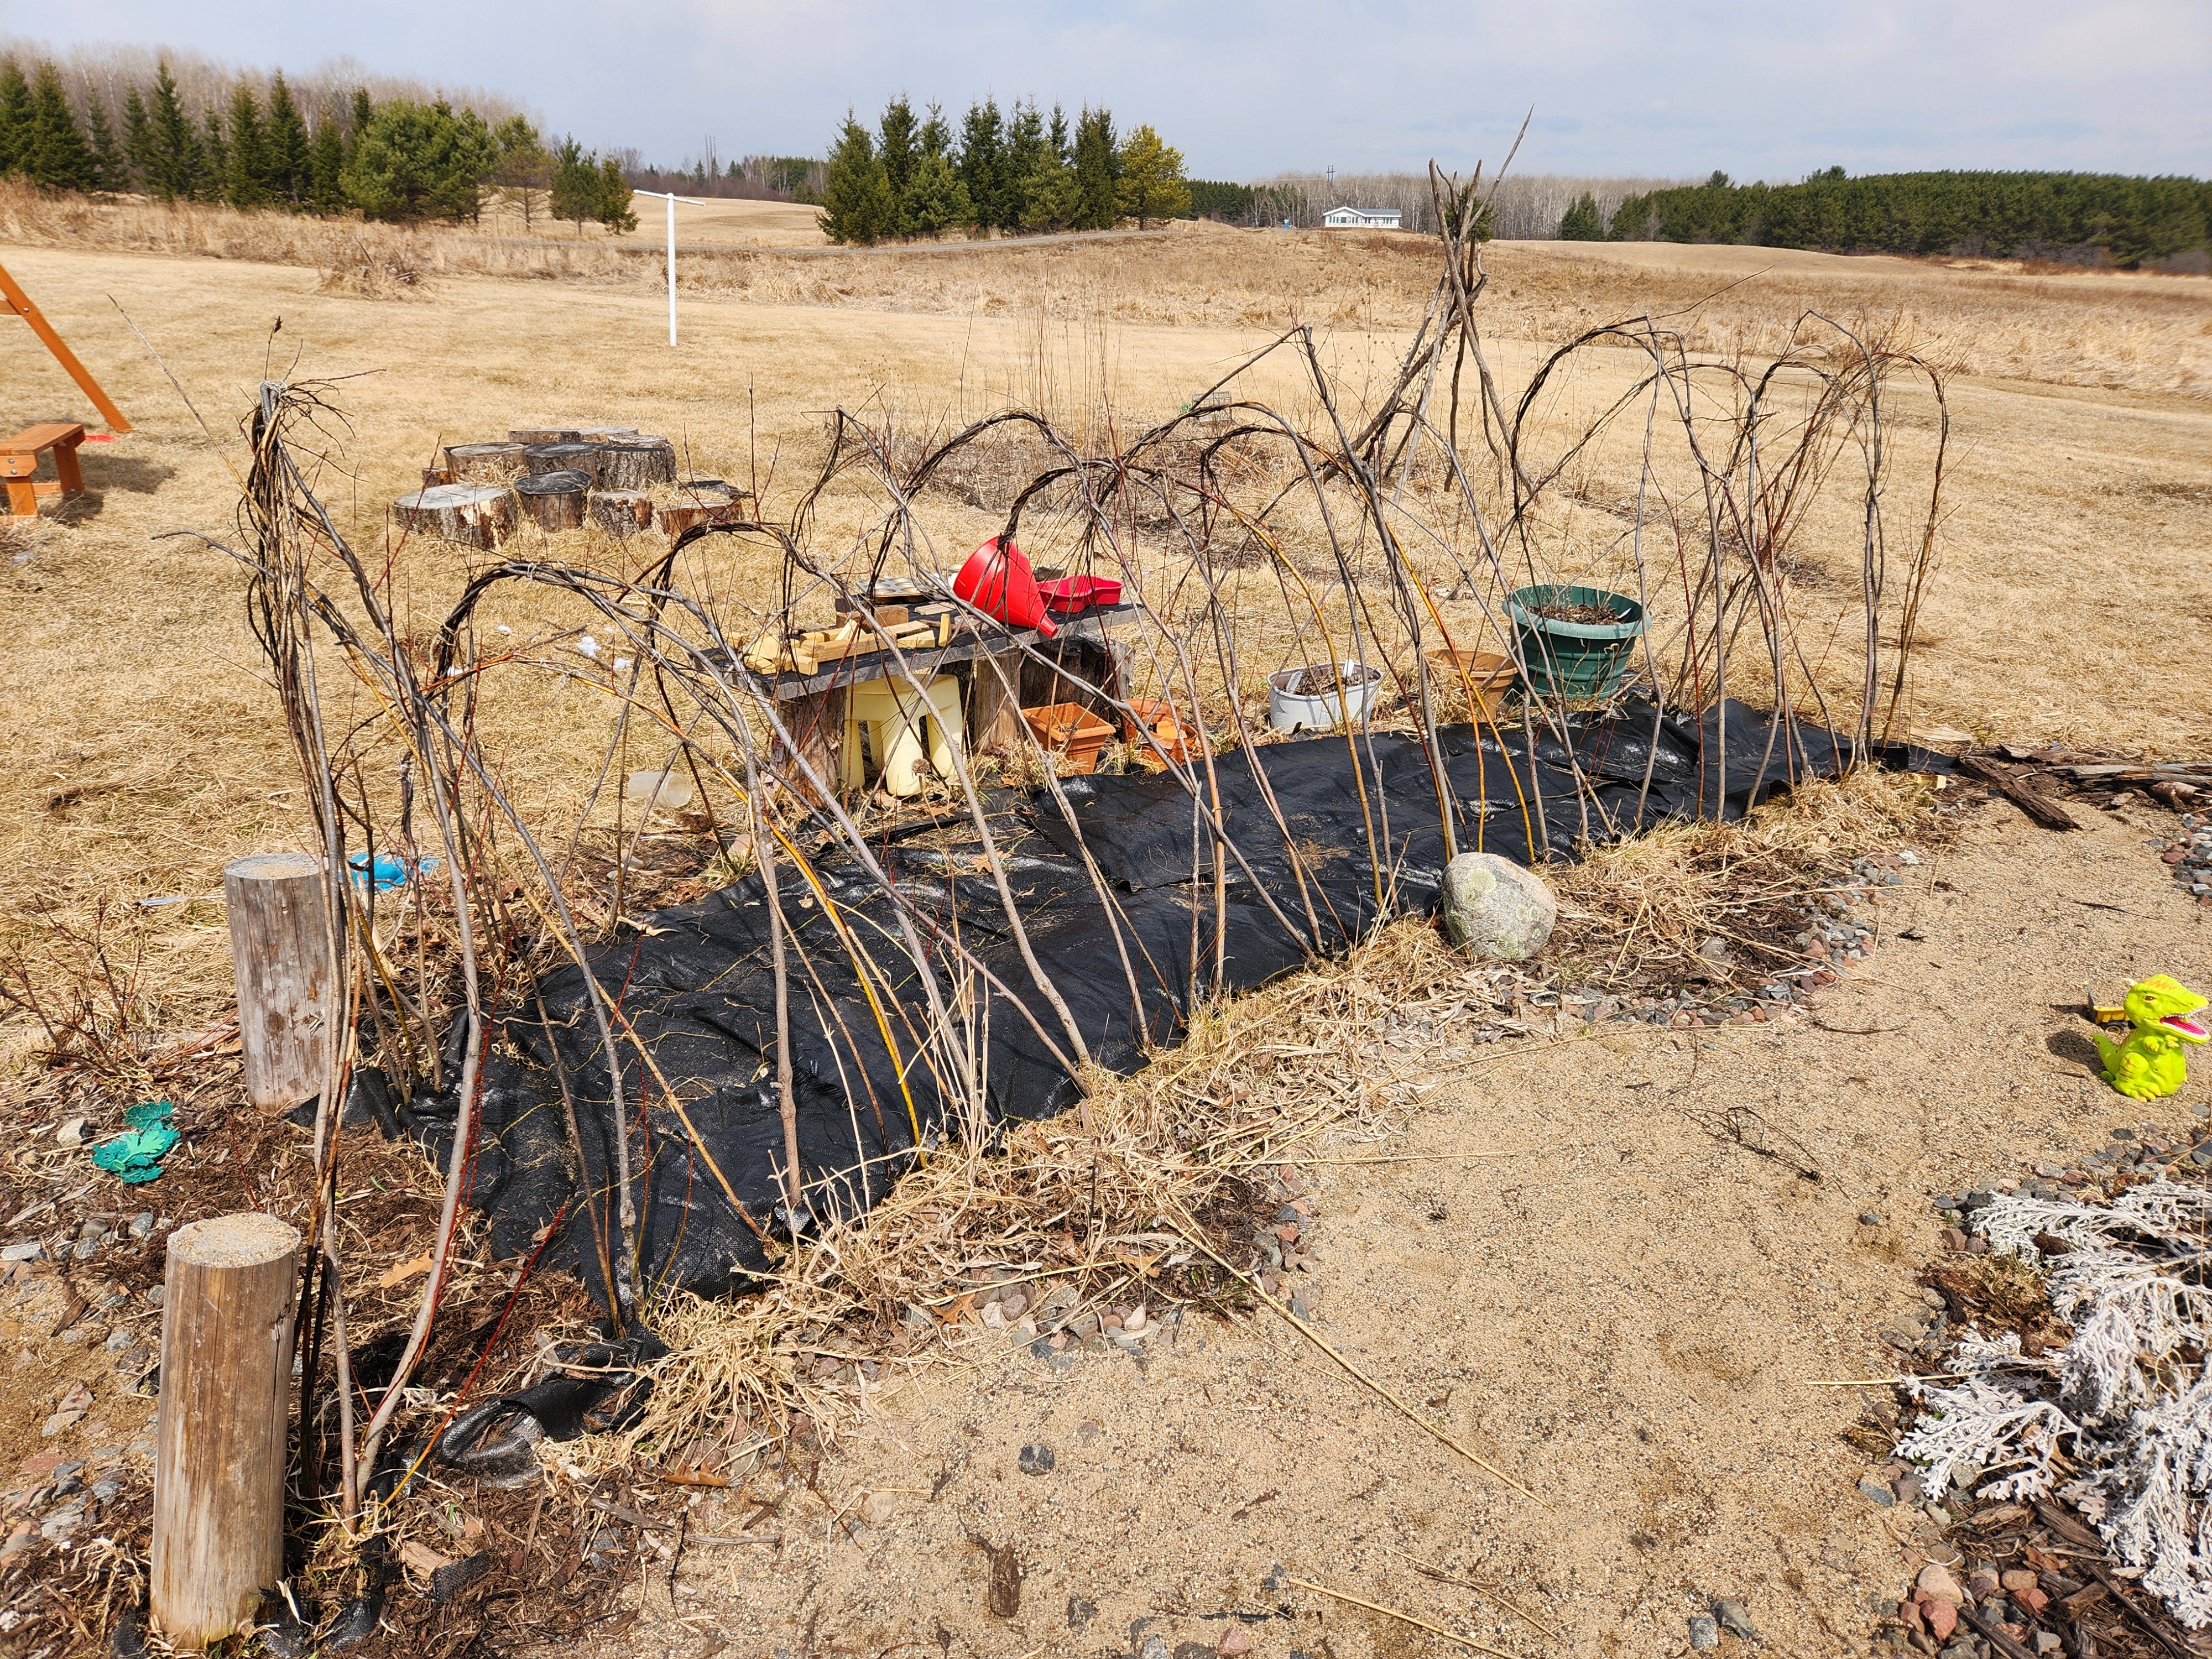
In early spring, I removed the willow and re-evaluated the project.
I opted for a much smaller project, a willow tunnel instead of a dome. But I love the way it turned out, even if the transformation looked a little ugly in the process. Early spring is never a pretty time in the garden.
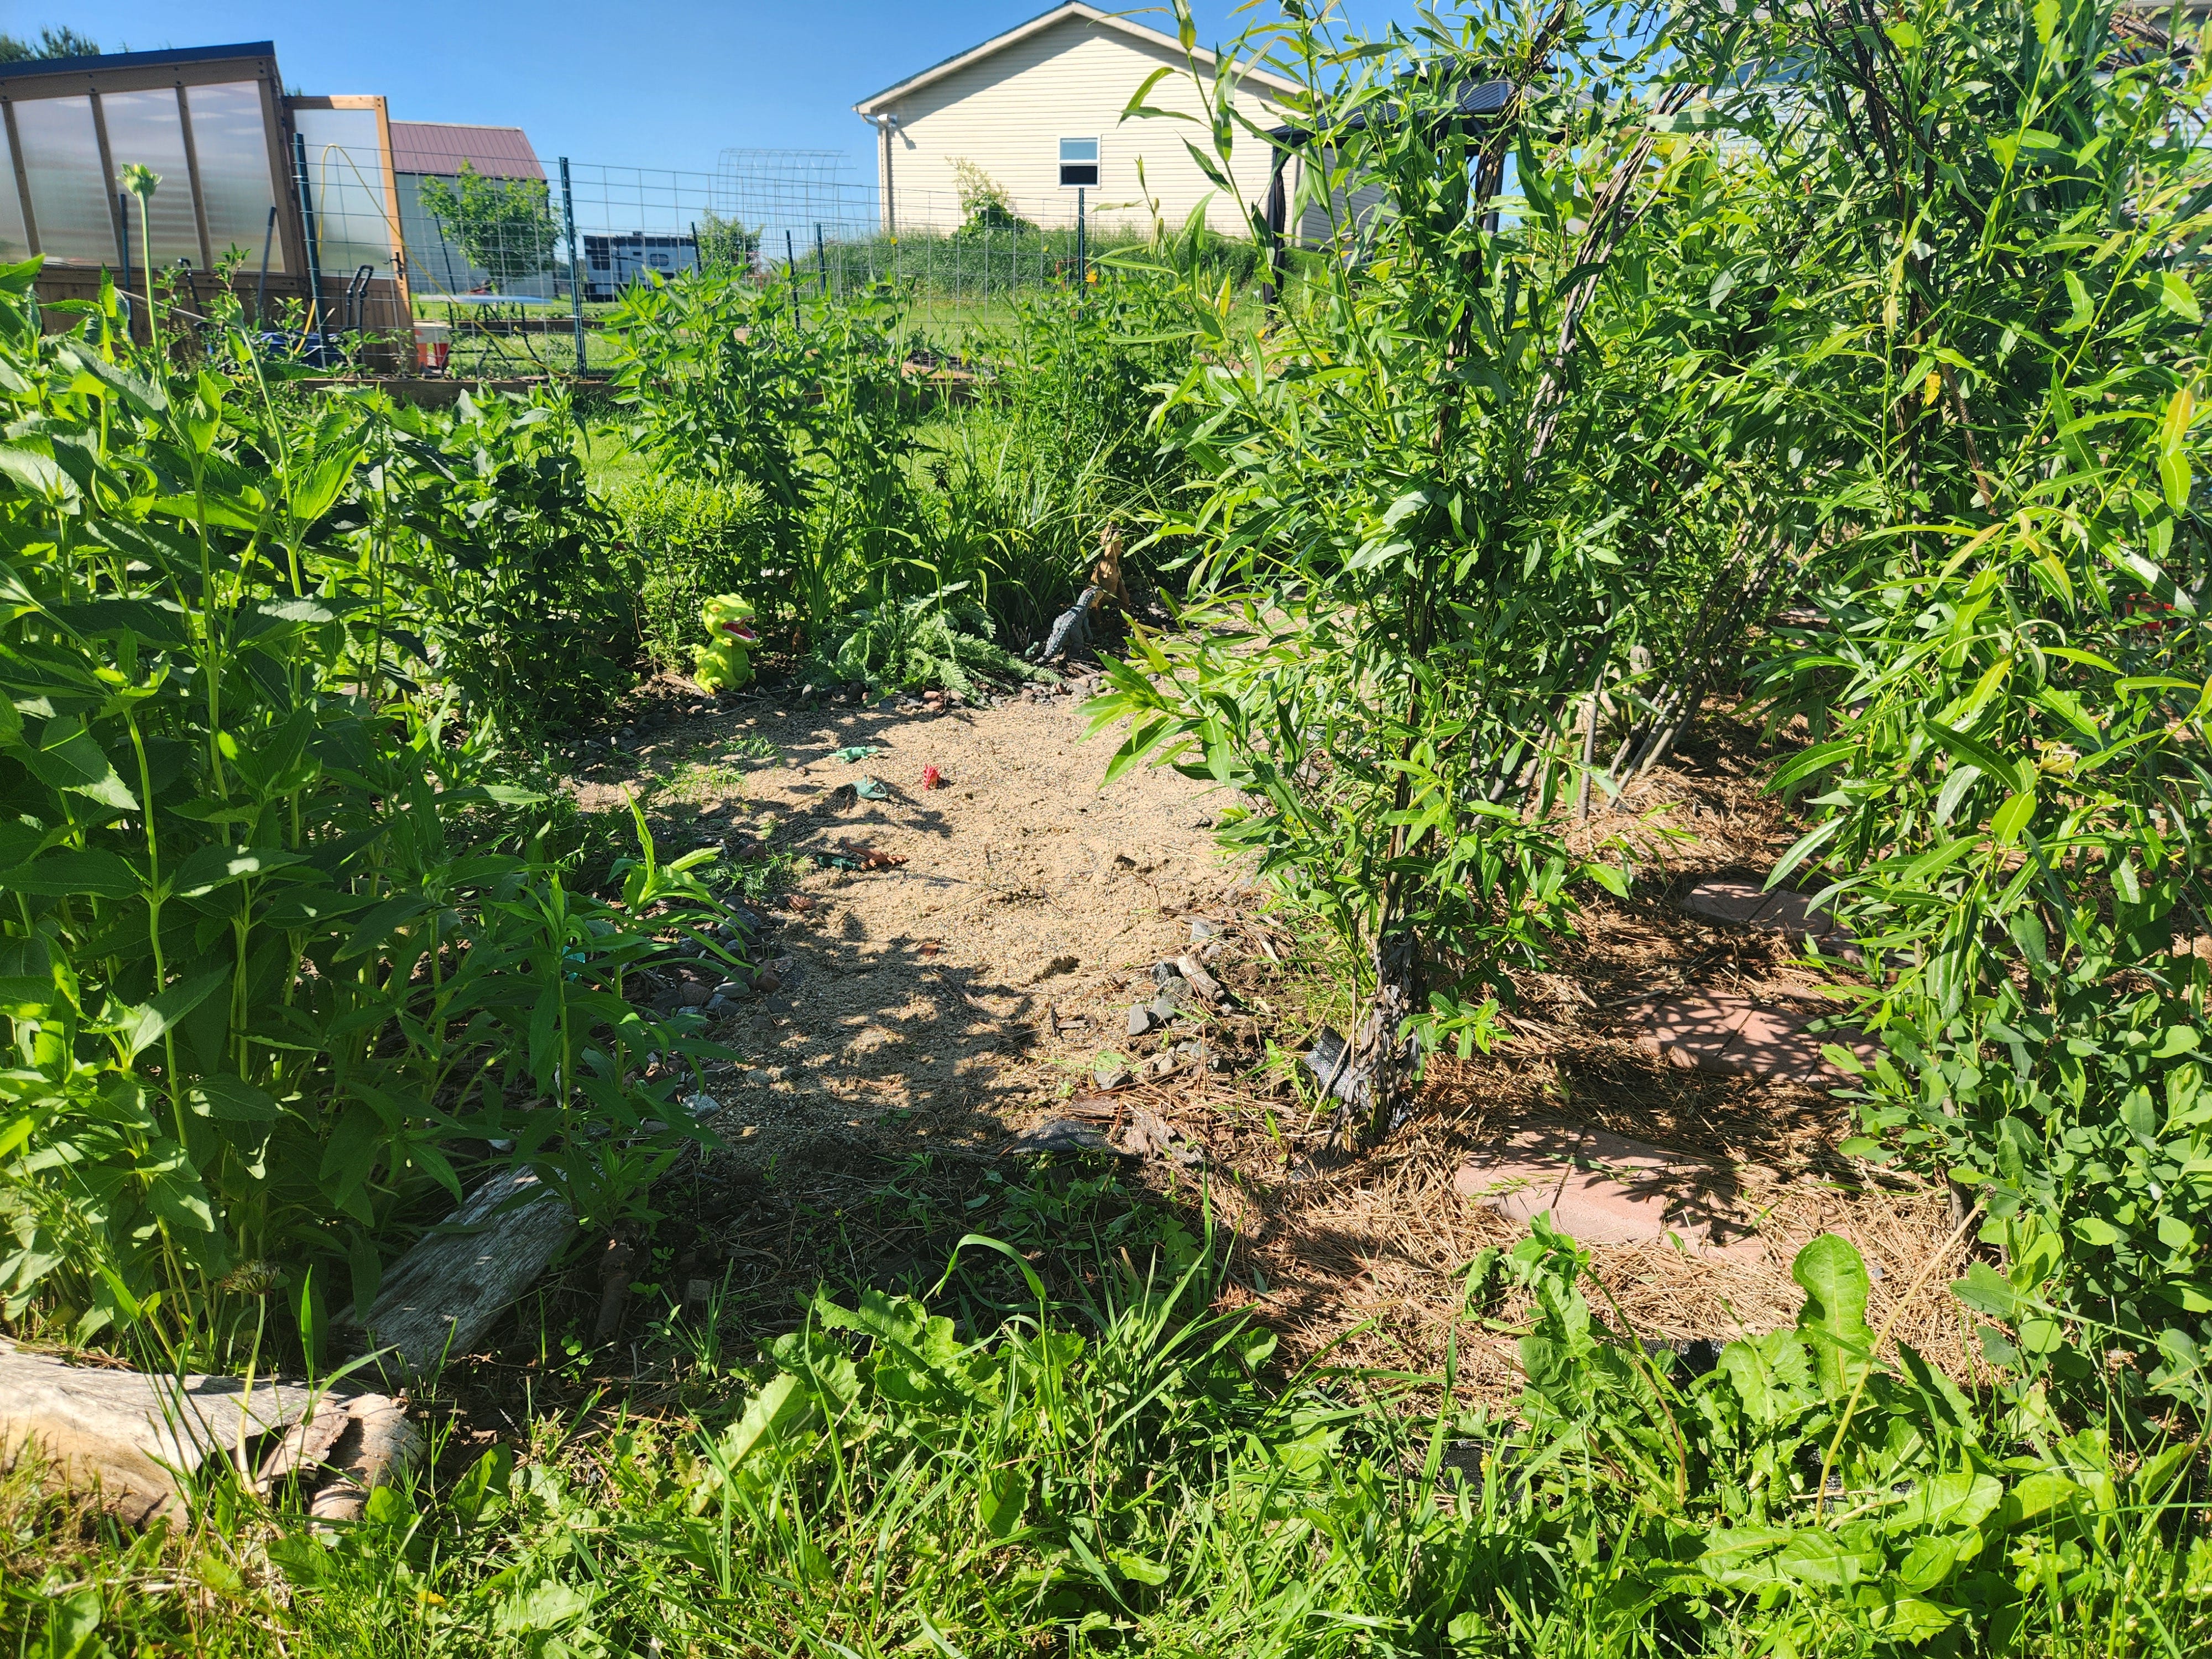
Now, the willow tunnel is a beautiful mess of green, sitting next to the dino garden.
Creating with Willow
If you’re thinking of making a willow tunnel - or using willow for any type of gardening project - note that it grows prolifically and has wandering roots. Willow roots are known to wreck foundations and wriggle it’s way into water and septic pipes. Willow loves wet roots and will do anything it can to tap into water! My willow tunnel is placed in a low point of my yard and gets lots (and lots) of water after heavy rains and in early spring.
To gather willow, I harvested branches (or whips) that were pencil sized or slightly larger around and at least 5ft tall. To grow, simply stick them in the ground at least several inches deep. This is best done in the very early spring or late fall.
Criss-cross the whips to achieve a fuller look when they green up in late spring. Wrap the whips around each other; the younger ones are more pliable. I used twine to help keep some of the whips together.
I used landscaping fabric around the base of the willow whips and underneath the tunnel. After my willow dome debacle, I opted to use fabric because the weeds were just too prolific and the small tunnel made it difficult to access and unsafe to weed whip. I know that landscape fabric is controversial in some spaces, understandably so. Most of my gardens have cardboard underneath a deep mulch. There are benefits to both methods!
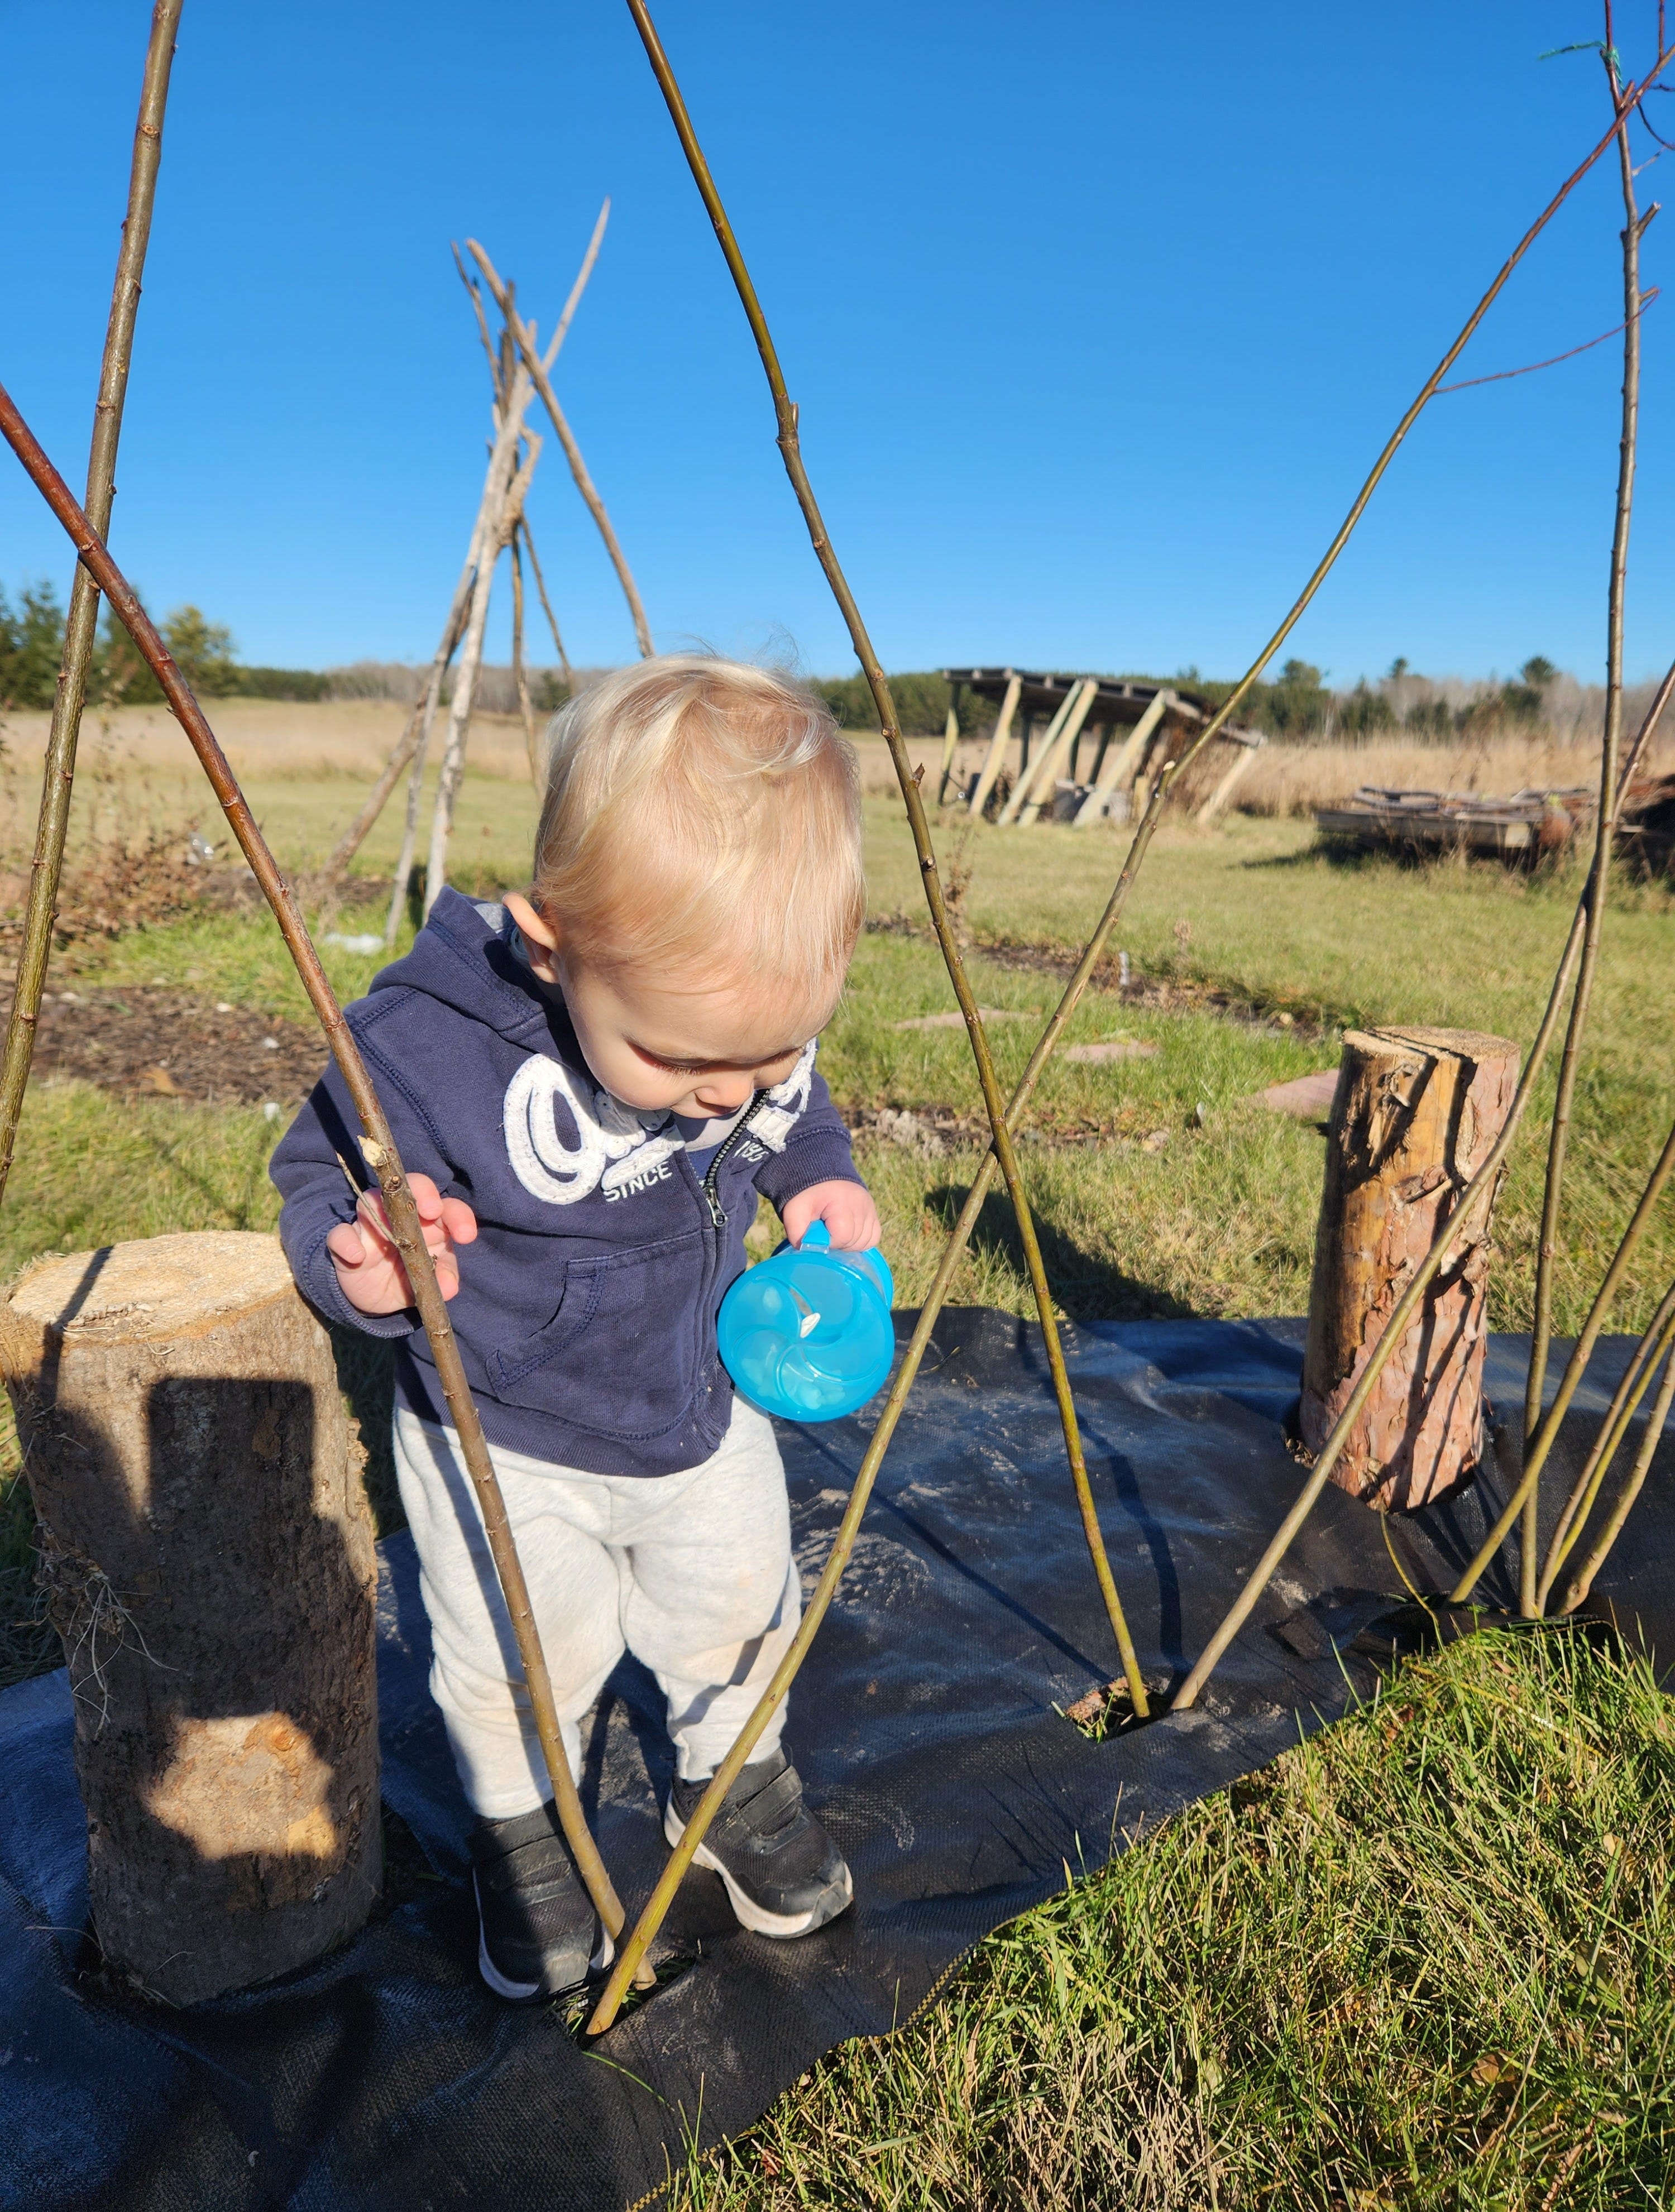
It’s been fun to watch my son explore the tunnel. It feels so whimsical and was a playful addition to my children’s garden. As the willow grows, I carefully weave new shoots into the mature growth to keep it looking relatively neat and to close any gaps. It takes a few years to look like it does in the pictures online! So I’m happy to share my ‘immature’ willow tunnel and will likely post updates with each passing year.
If you’re interested in plant lists, gardening courses, and other resources, I have them on my website: goodrootsfamilyed.com.
Happy gardening!
